

Thursday, December 17, 2009

I received this award from Vicki at Gemini Creationz.
Thank you so much hun for the award...((hugs))
Terms are to list 10 things about me and then pass it on to 10 others.
1) I love my husband
2) I have cat, his name "Comel"
3) I love making tags with photoshop.
4) I love purple, red & pink color.
5) I love Gorjuss art etc.
6) Fanatics on Twilight movies.
7) I'm always online lol!! :D
8) My favourite singer Kelly Clarkson.
9) I love driving car.
10) I love to learn making tags.
I will send this award on to....
Saturday, December 12, 2009
Here i making some mask for 2010 new year...
Hope you will love it..
Leave some comments when you download it..
Thank you so much..:=)

Download HERE


Christmas 2009#1

Christmas 2009#2

Christmas 2009#3

Christmas 2009#4

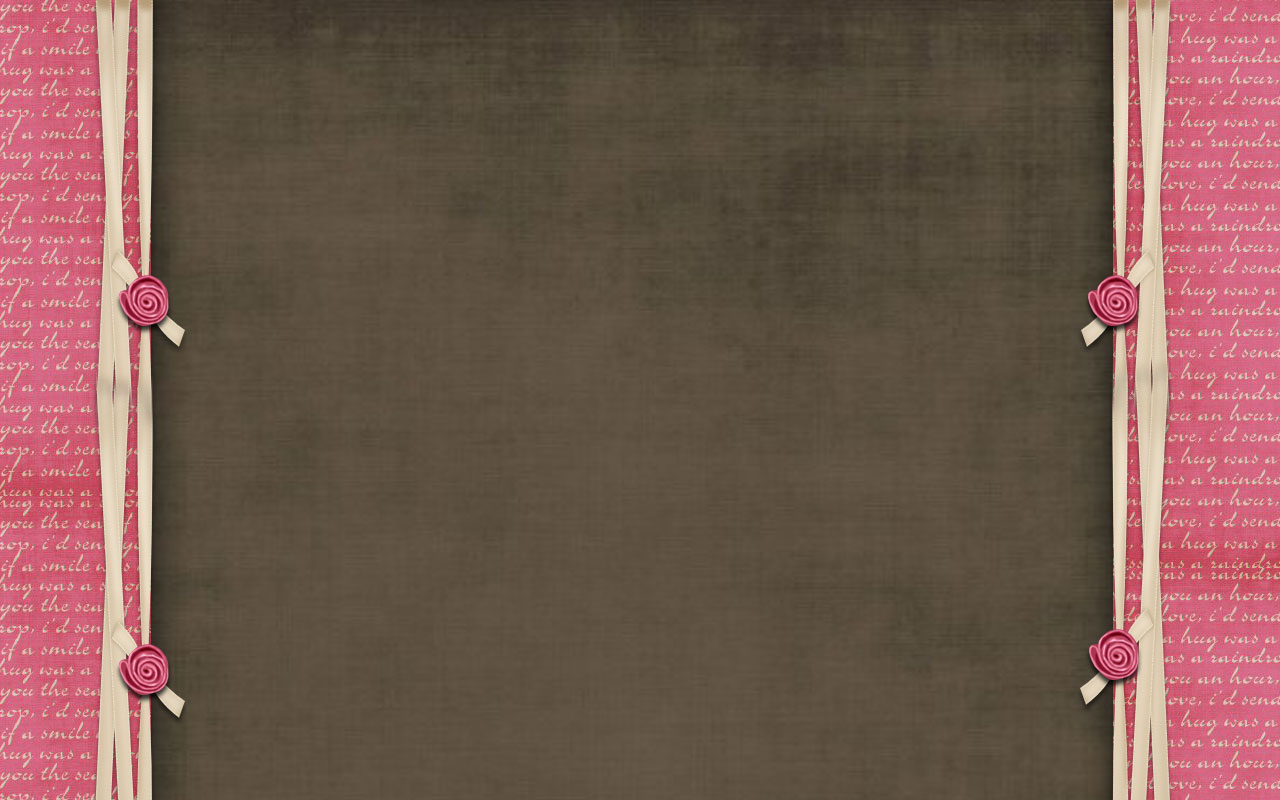
I just making all this new layout using by
Scrapkit is PTU called SD Christmas Time,
Scrapkit is PTU called SD Christmas Time,
you can download from Stacey's Design, Thanks Stacey.
Click image to see original size & you can save it.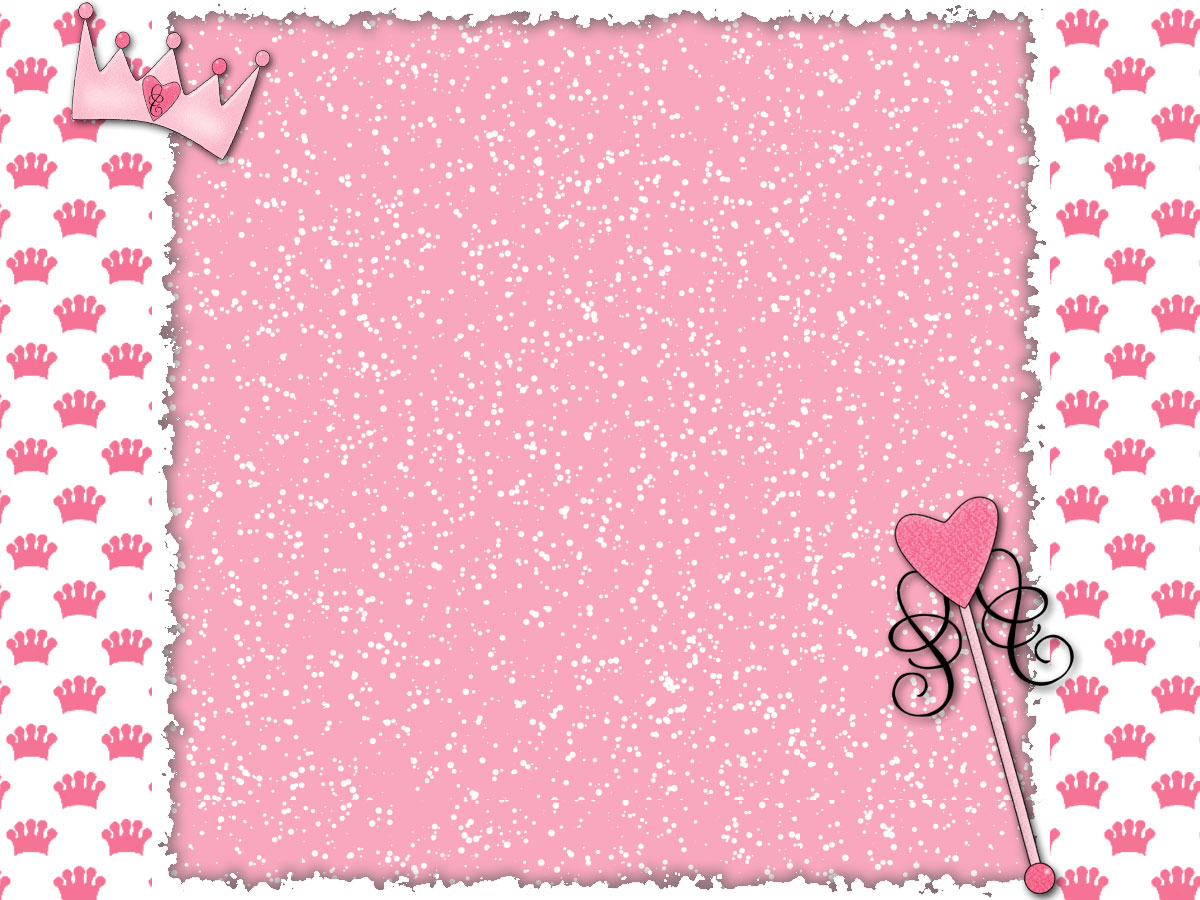

Tuesday, November 24, 2009
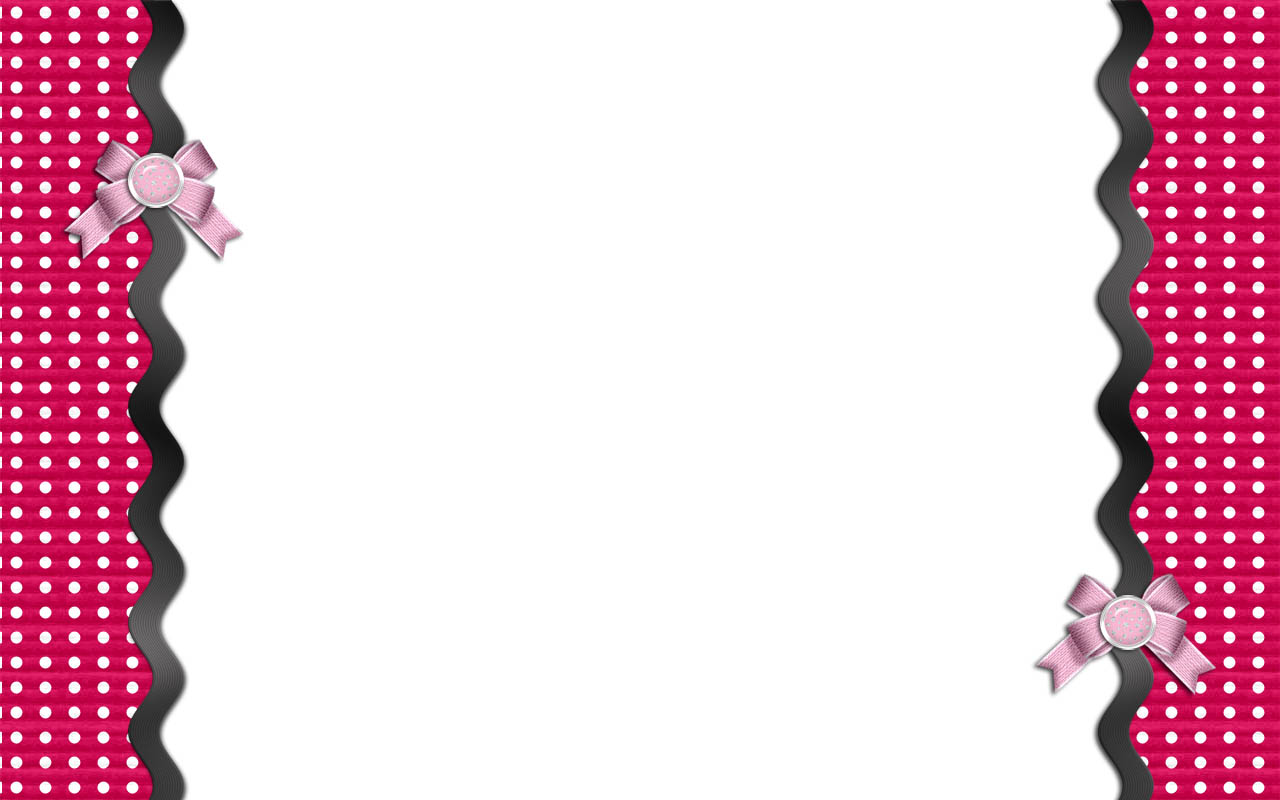
I design this layout using Scrapkit by Lacarolita Seduction,
Thanks KARLA .
Thanks KARLA .
Click image to see original size & you can save it.

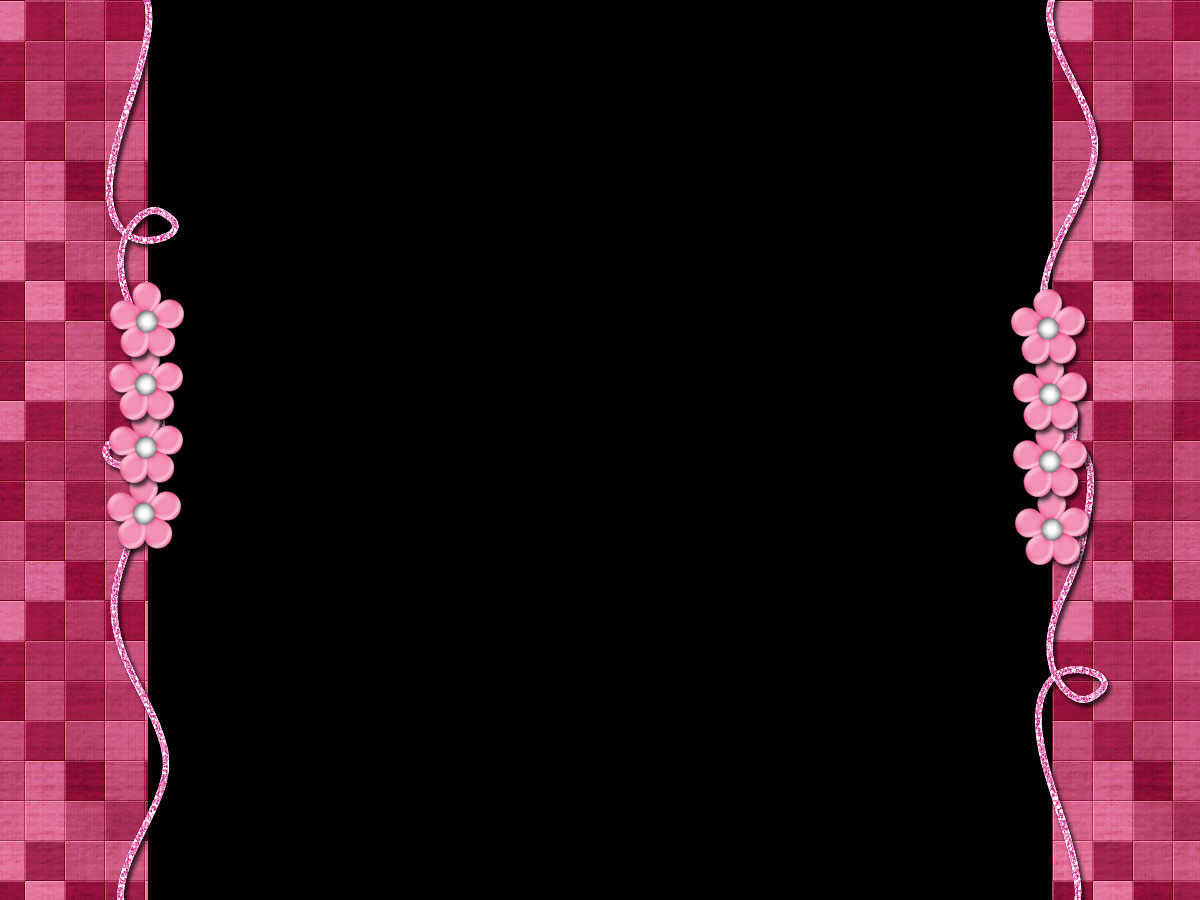
Here i make snowflakes mask for the christmas season.
Free Download HERE
Please comments before downloading is more appreciated.
Free Download HERE
Please comments before downloading is more appreciated.

Here i make snowflakes mask for the christmas season.
Free Download HERE
Please comments before downloading is more appreciated.

Sunday, October 25, 2009
Hello...everybody!
now i'm come back again with basic
tutorial photoshop glitter graphics.
tutorial photoshop glitter graphics.
here i will show for you the beginning how to
making glitter graphics from starter.
making glitter graphics from starter.
1)Firstly, you go to file then click to open any image from your pc.
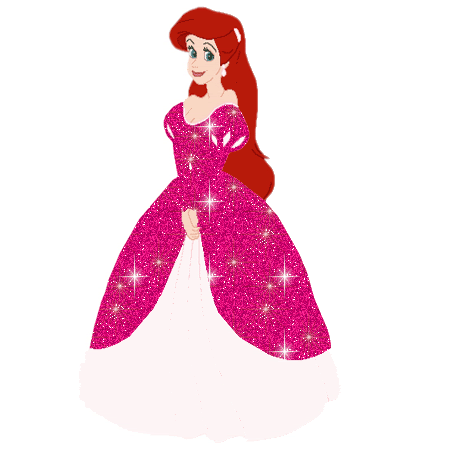
I choose this image.


2)Now you go to Layers Window,
then right click on background image to
then right click on background image to
duplicate layer like below.
Make sure you do it twice because we
Make sure you do it twice because we
need it become 3 layer.

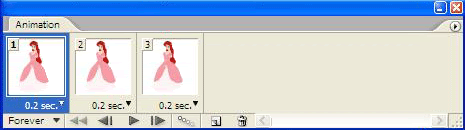
3)After that, you go to Animation Window to duplicates selected
frames like below. Make sure also you do it twice because we
need it become 3 frames. Then you change the time for all frames
animation become for 0.1second.

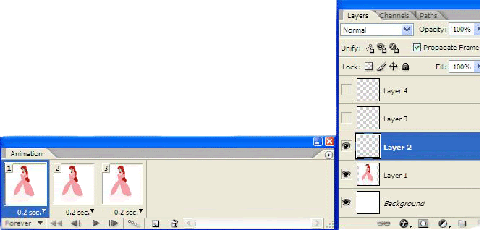
4)Now, you must seperates all frames with all layers with indicates
layer visibility. Example like below, for frames 1 with first
background and frames 2 for background copy then for
frames 3 with background copy 2.


5)After that, you go to Magic Wand Tool, and click at selected image
you want to put glitter like below.


6)Now, you open the filter then go to Noise and Add Noise.
Then you set the Gaussian noise amount 15% for frames 3,
Gaussian noise amount 16% for frames 2, and
Gaussian noise amount 17% for frames 3.Click ok for every step.


7)Finally, you click at plays animation window to make your
glitter image become animated and now your new glitter image
already done. Just enjoyed it! (^-^)
Leave any comments if you want to ask anything about this tutorial....
Thank you :)

Saturday, October 10, 2009
Hello..everyone! I know some of you really need to learn how
to glitter on the image that you want...
here i will share with all you guys! hope this can help you.. :)
1)Firstly, open any glitter image you like on Photoshop Image Ready.
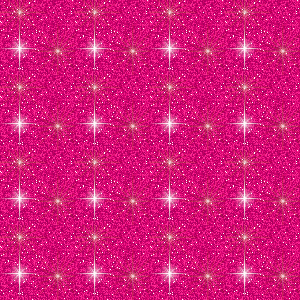
I choose this glitter : 
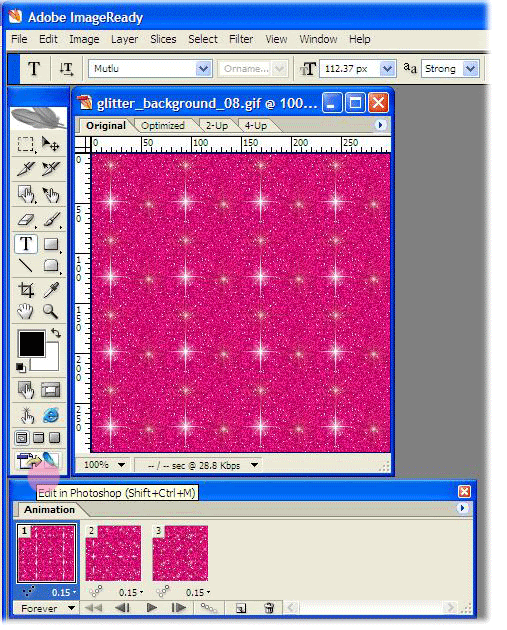
2)After that you have to jump on Photoshop.
Then you must save for every each one as a pattern.
Click on Edit then click on Define Pattern.
Name your pattern anything you like in the window that pops up.
Repeat this step for the other two layers. Now that your
Patterns have been defined you can go ahead and close the glitter file.
3) Then you can open any image that you want to put glitter on it.
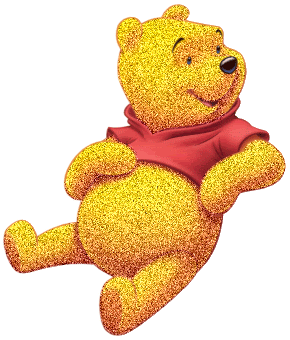
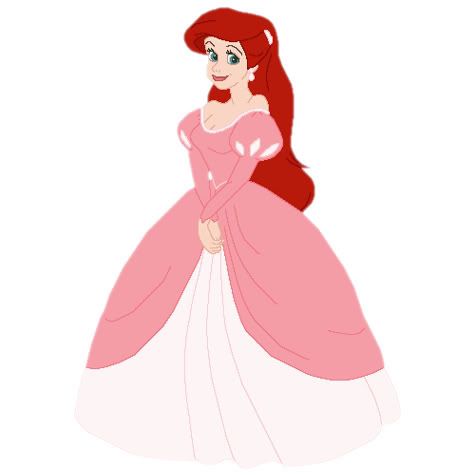
After that you transfer into new canvas size 450pixels x 450pixels with Move Tool. I choose this image for example :
4)Then what you have to do is to create 3 new layer like this...,

5) After that go to Magic Wand Tool, you select any part you
want to put a glitter on the image. Like this example :

6) Click at Window to open Animation,
duplicates selected frames to 3 frames
duplicates selected frames to 3 frames
like this for example :
7) Then you have to separate every frames with every layer like this example :
8) After that Click to Paint Bucket Tool,
then select Pattern to open glitter image that you save.
Now just drop on image for every pattern glitter with
every layer that you create before this.
Make sure you change every pattern glitter
when you put with different layer.

9) Finally, you got the glitter image that you want like this....enjoy to used it! TQ.
Subscribe to:
Posts (Atom)


- ღ⇢Rieka_Rafita⇠ღ
- Hai,my name is Rieka, I'm working wife. I'm a designer for the Scrapkits on my spare time & i just addicted for it!! All my products i create with Photoshop CS2 and PSP X2. Thanks all for stop by on my blogs. I love read comment from you all..:)


Click @ image &
Like my FB Page to get this..:)

Like my FB Page to get this..:)


